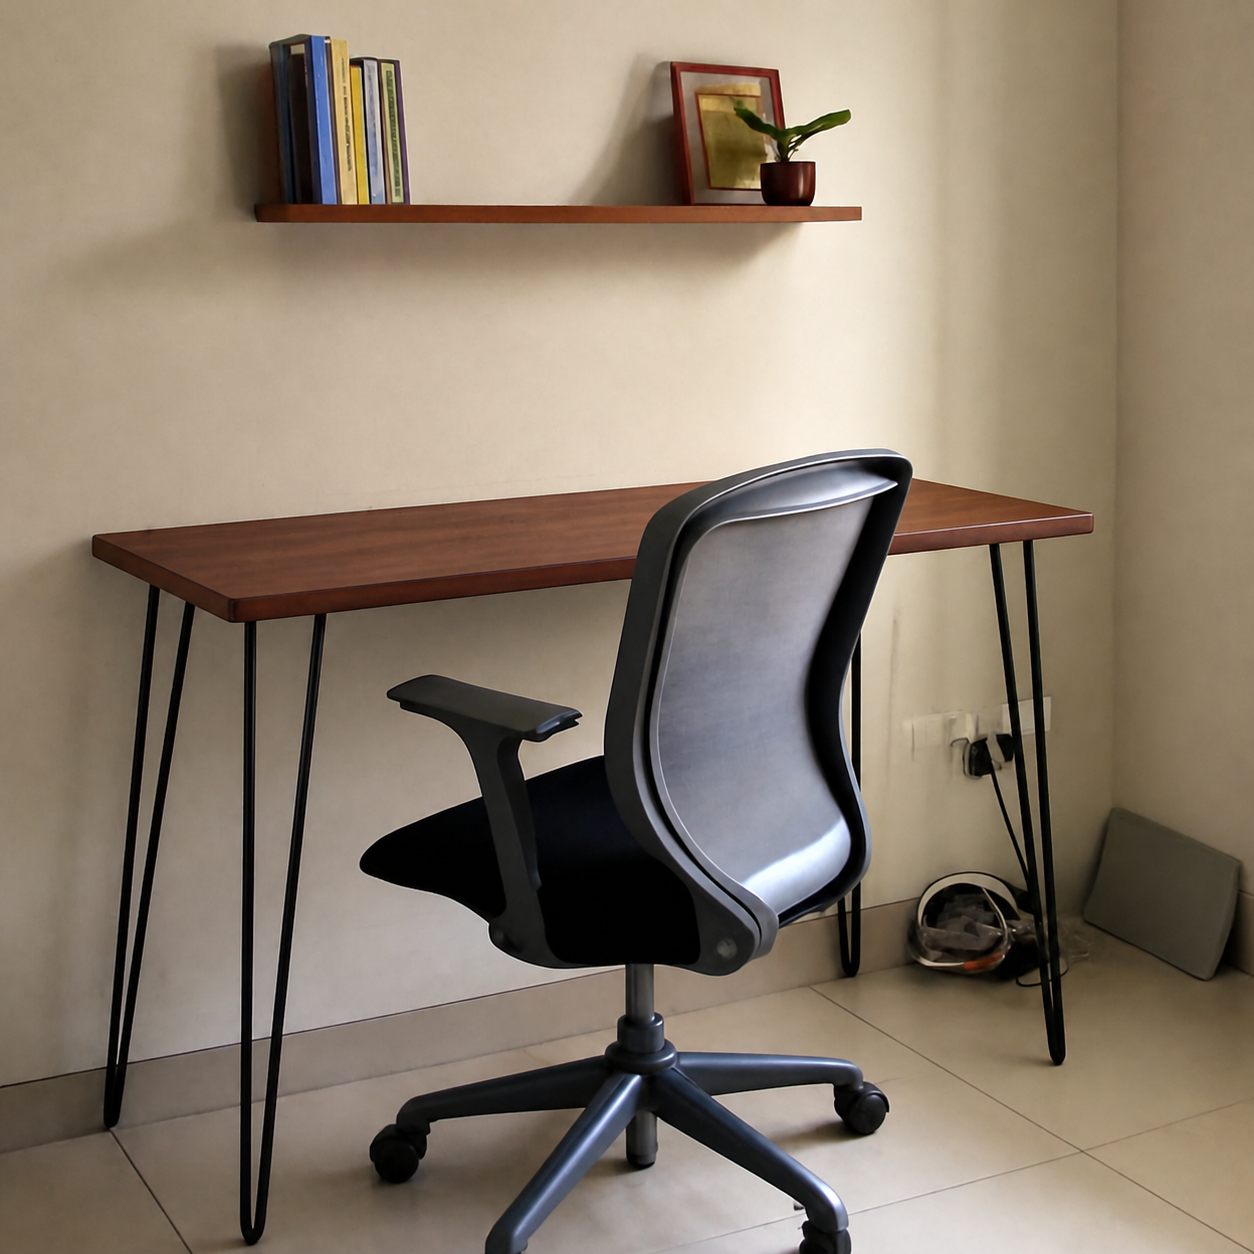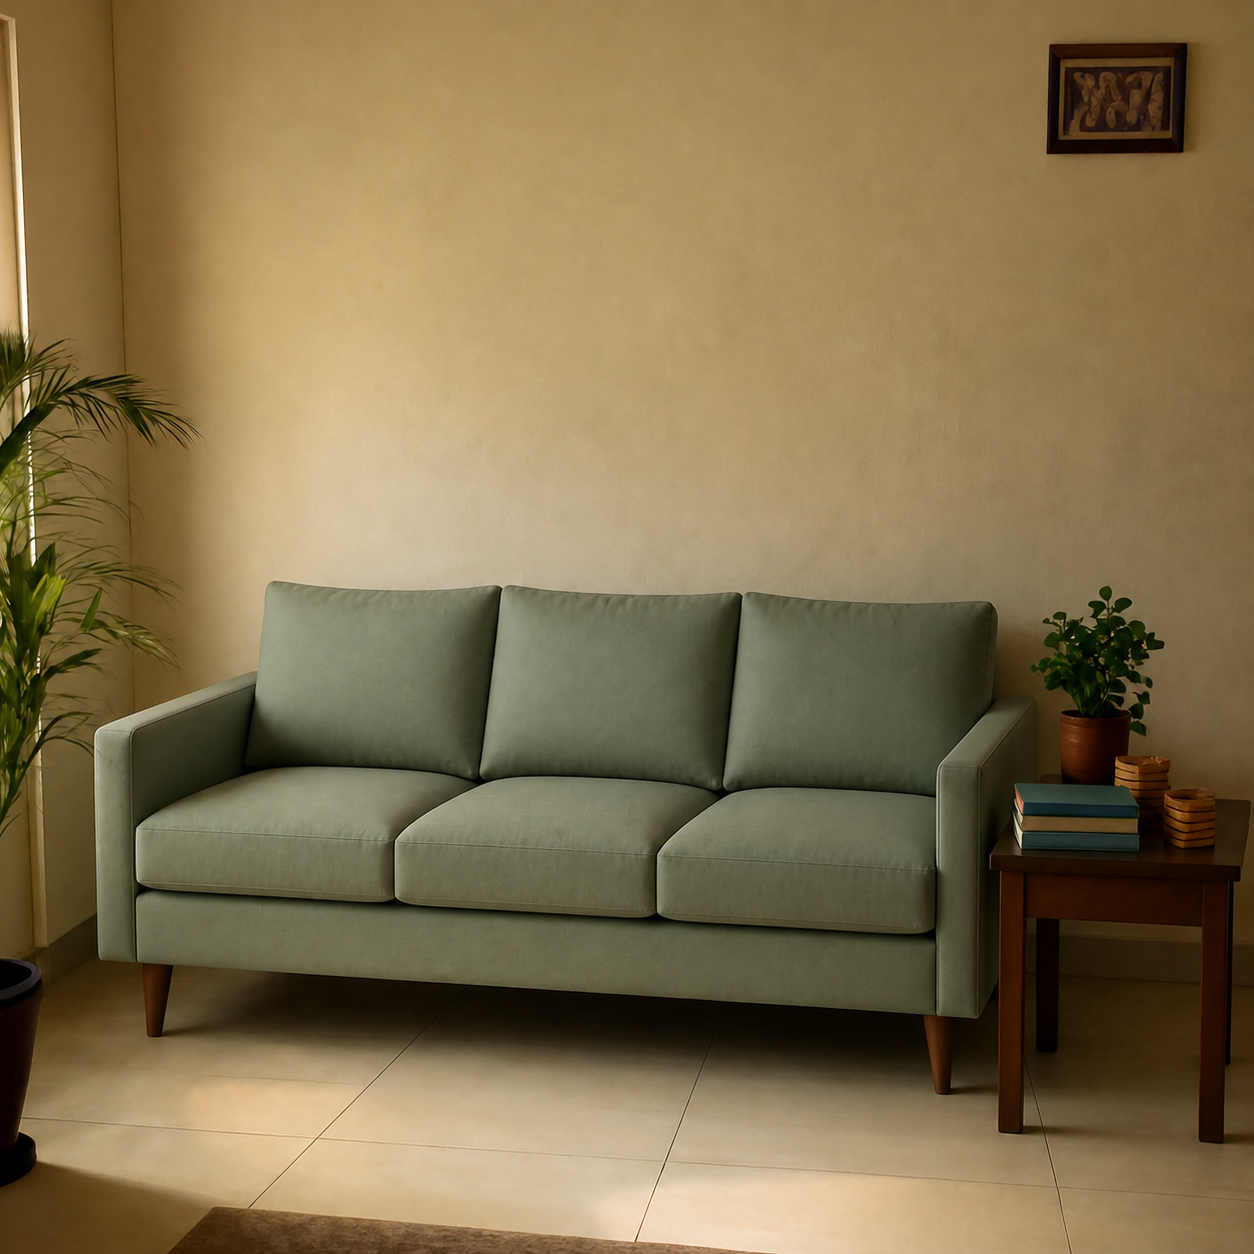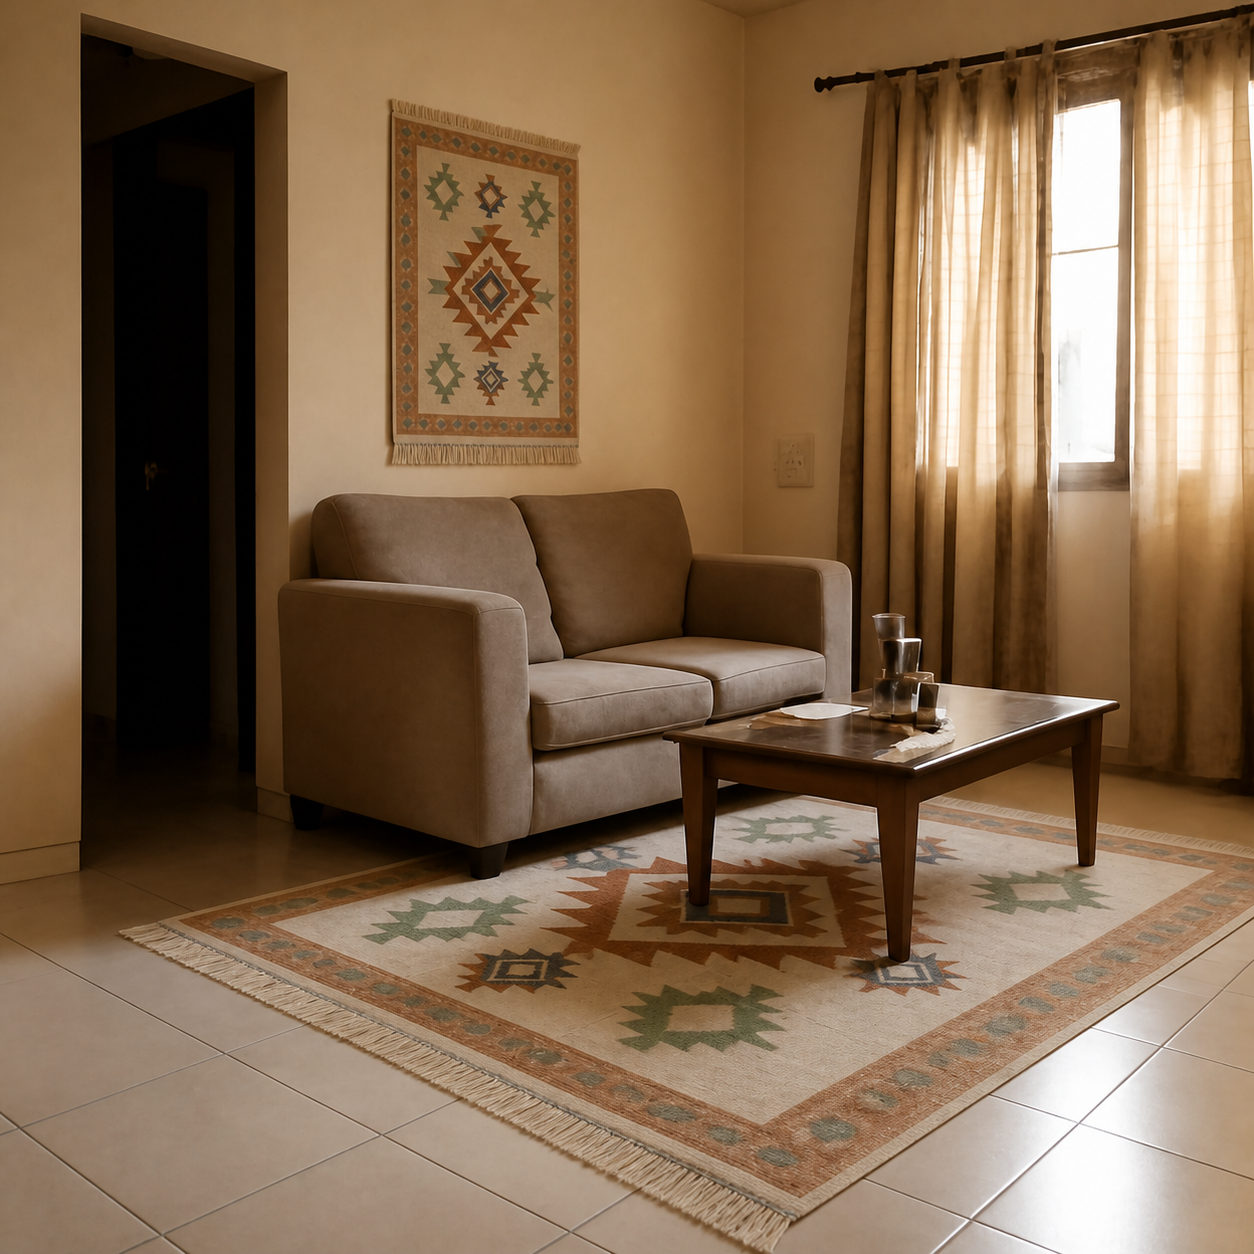
The room photo decides the preview. Shoot in even daylight, with the phone held level and the camera back far enough to include the floor, the full wall, and a strip of ceiling. Turn off every indoor lamp. Don't tilt up or down. Keep the existing furniture in frame — it gives the AI the scale and perspective cues it needs. Three minutes of photo prep is the difference between a preview you can trust and one that needs a re-shoot.
What the AI actually needs from your photo
A composition tool reads the photo for three things:
- Geometry. Where the floor plane meets the wall plane, the camera's vanishing lines, and how far back the camera is from the placement zone.
- Light direction. Where the dominant light source is, so it can match shadows on the placed product.
- Scale references. Existing objects — doorways, outlets, side tables — that anchor the size of the new product.
Every recommendation that follows traces back to one of those three.
Why daylight beats lamps
Indoor bulbs are warm — most household LED and incandescent light sits around 2700–3000K, well into the yellow-orange end of the spectrum. The colour cast on your wall in lamp-only photos is severe enough that any preview composited into it will inherit the cast and look off when you check it again during the day.
| Light source | Colour temperature | Preview accuracy |
|---|---|---|
| Overcast daylight | ~6500K, neutral | Best |
| Indirect direct sun | ~5500K | Very good |
| Direct hard sun | ~5500K with hard shadows | Mediocre — strong shadows |
| Warm LED bulbs | ~2700K | Poor — strong cast |
| Mixed daylight + lamps | Patchy | Worst — splits the AI's read |
Aim for the top two rows. Shoot between 10am and 2pm on an overcast day, or with the curtains drawn lightly to diffuse direct sun. Turn off every indoor light. Mixed lighting is the single worst condition because the model has to reconcile two light sources at two colour temperatures, and the previewed product ends up looking right for one half of the room and wrong for the other.
Wide angle, not close-up
The instinct is to crop tight on where the product will go. Resist it. The AI uses everything in the frame to figure out perspective and scale, and a tight crop strips out the references it needs.
For a typical placement (sofa against a wall, rug on a floor), stand at the opposite wall and shoot horizontally. Include:
- The full wall the product will sit against, with at least 1 foot of margin on each side.
- The floor in front of the wall, all the way to your feet — gives the AI the floor plane.
- A strip of ceiling above the wall — anchors the top of the perspective.
- Any doorway, window frame, or existing furniture nearby — these are the scale references.
Phone level — no tilt
The most damaging mistake is tilting the phone up or down. Tilt produces keystone distortion — vertical lines on the wall start to converge toward a point, and the floor plane warps. The AI does its best, but a composited sofa on a keystoned floor often ends up looking like it's sliding off.
Phone-leveling tips:
- Use the phone's grid overlay (Settings → Camera → Grid on iPhone; Camera app menu on Android). Align vertical lines on the wall with vertical grid lines.
- Hold the phone at chest height, not eye height. Chest height keeps the camera roughly parallel to the floor.
- For tall walls or low rooms, step back rather than tilt. Doubling your distance from the wall lets you capture more height without tilt.
Key takeaway
Vertical lines in the photo should be vertical, not converging. If your wall edges lean toward the centre of the frame, step back and re-shoot.
Keep the room lived-in
The instinct to clean the room before photographing it is mostly right — clear obvious clutter from the placement zone — but don't strip the room bare. Existing furniture is what gives the AI scale, and what helps you judge whether the new product works against what's already there.
- Keep: existing sofa, rug, side tables, art on the wall, the coffee table, plants.
- Remove: obvious clutter in the placement zone — laundry, mail piles, phone chargers across the floor.
- It depends: if you're previewing a replacement sofa, you can leave the old sofa or move it out — both work, just decide before the shoot.
Perspective references that help most
Some objects in the frame anchor scale better than others. The ones the AI uses most reliably are:
- Doorframes — roughly 80 inches tall, the most universal scale stick in a home.
- Power outlets — about 4.5 inches tall, mounted 12–18 inches from the floor.
- Existing furniture with known size — your current sofa, coffee table, dining chair. Even if you're replacing it, leaving it in the photo gives the AI a clear scale reference.
- Floor tile or plank grid — standard tiles are 12×12 or 24×24 inches; standard planks are 5–7 inches wide. The grid pattern is a great perspective anchor.
What to avoid
- Filters and HDR boosting. The phone's default HDR is fine. Anything beyond it (Instagram filters, third-party camera apps with stylized processing) changes colour temperature in ways that bias the preview.
- Ultra-wide lenses. The ultra-wide setting on most phones produces severe edge distortion. Use the main camera (typically 1×). If you need more of the wall, step back rather than zoom out.
- Single bright lamp. One lamp creates a dramatic side-shadow that the AI has to guess at. Either turn on enough lights for even illumination, or shoot during the day with lamps off entirely.
- Mirrors directly facing the placement zone. A mirror reflects the previewed product back into the room, and most tools struggle to keep the reflection consistent. Re-shoot from an angle that excludes the mirror, or accept the reflection might be off in the preview.
- Cropped-tight phone screenshots. A screenshot from your photo library cropped in the phone's editor loses metadata and resolution. Send the full-resolution original.
The pre-shoot checklist
- 1Pick a daylight window. Overcast is ideal; soft indirect sun is fine. Avoid direct hard sun and avoid evening lamp-only.
- 2Turn off every indoor lamp and ceiling light.
- 3Clear obvious clutter from the placement zone. Leave the rest of the room as it is.
- 4Switch the camera to its main (1×) lens, not ultra-wide.
- 5Stand at the opposite wall. Hold the phone at chest height, perfectly level. Turn on the grid overlay.
- 6Frame: full wall, floor to your feet, a strip of ceiling, and at least one scale reference (doorway, outlet, existing furniture).
- 7Take three shots. Pick the one with the cleanest vertical lines on the wall.
How to tell if the shot will work before uploading
- Vertical lines (wall edges, door frames, window frames) are vertical, not leaning inward.
- The colour cast looks roughly neutral — not heavily yellow or orange.
- You can see the full footprint zone — floor in front, wall behind, no part hidden.
- At least one scale reference is visible (doorway, outlet, existing piece).
- No filters applied. Phone's default HDR only.
If a check fails, re-shoot — it's faster than fighting a bad preview later.
Try it on a sample
For a sense of what a clean room photo looks like as an input, see the original photos behind the sofa living room and desk workspace demos. Both were shot in daylight, level, wide, with existing furniture in frame. Match that approach for your own room and the preview will land cleanly the first try.
Once the photo's ready, upload it on a sofa visualizer or any product category and add either an Amazon URL or an uploaded product image. The composed preview comes back in under a minute. For the deeper why-it-looks-fake checklist if the result feels off, see why do AI room previews look fake.